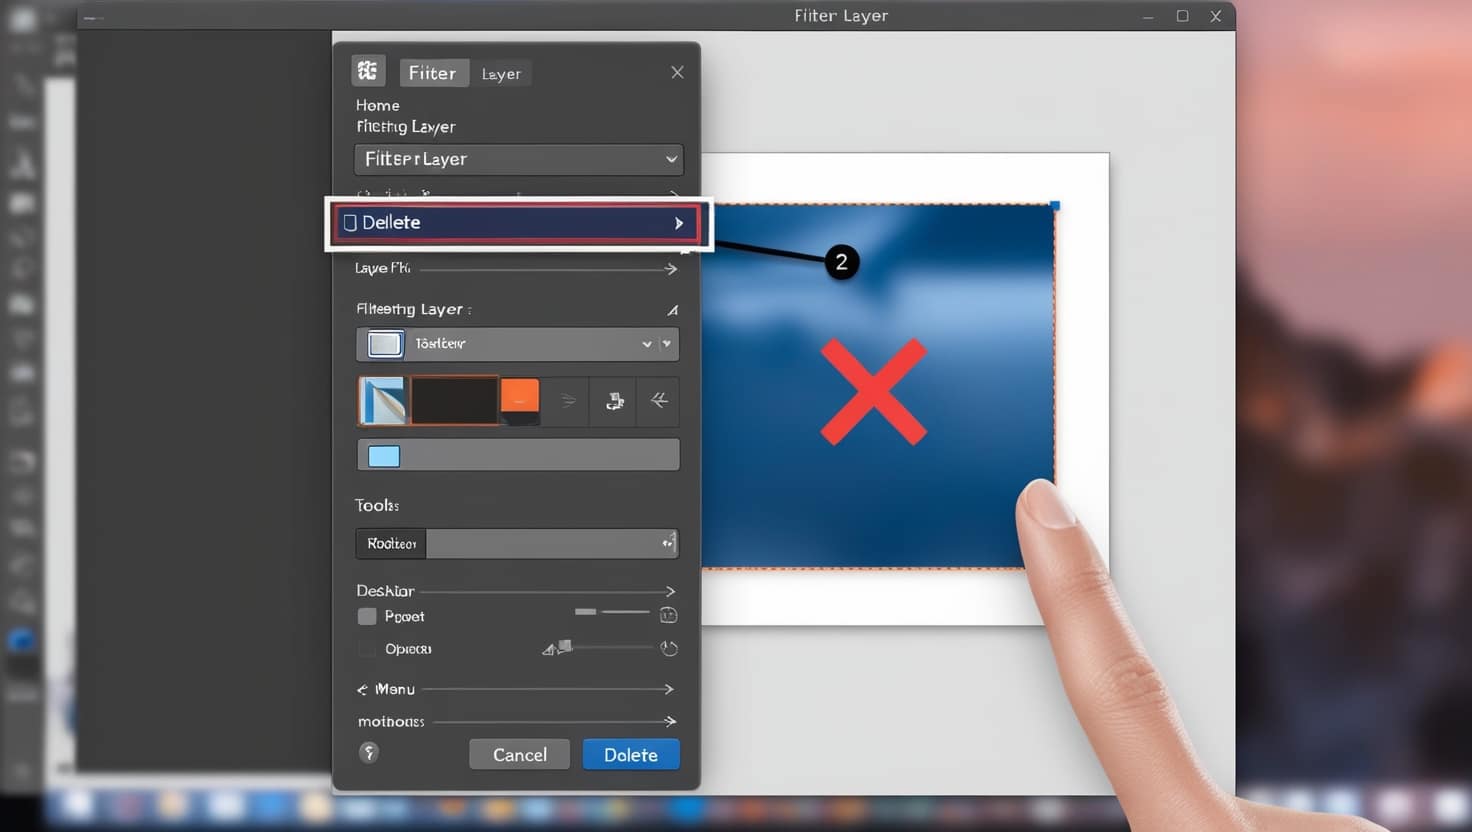
Today, I will discuss how to delete a filter layer in GIMP. When editing images, it is helpful to be able to manage layers appropriately.
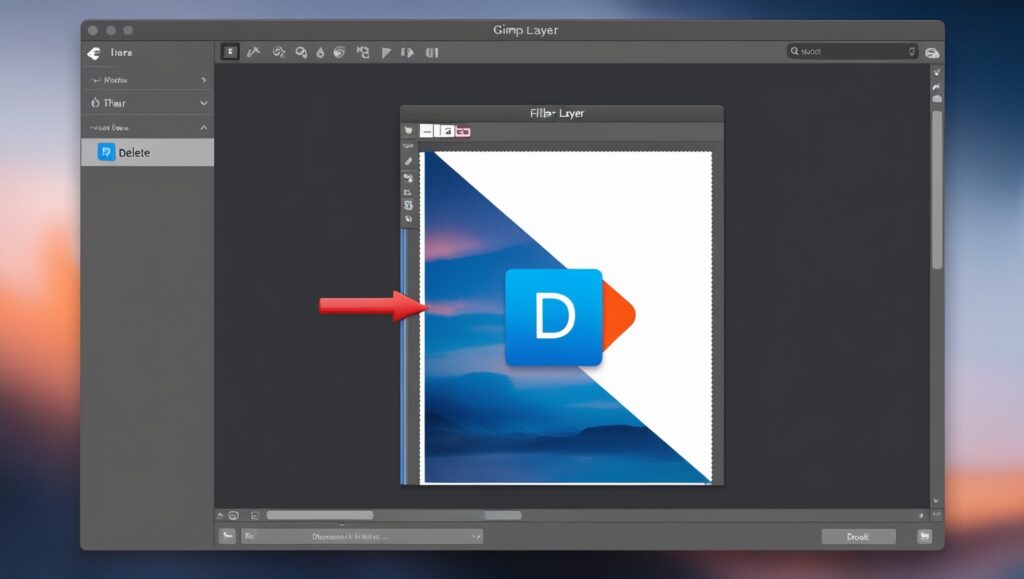
Deleting the filter layer is simply a matter of pointing to the layer on the Layers panel and clicking the delete option.
With this documentation, your work becomes more efficient, and you can easily organize your project.
What Is Gimp?
GIMP is the short form of GNU Image Manipulation Program and is considered one of the best image editing software skilfully designed for photo editing, image design, graphic designing as well as digital painting.
GIMP is an excellent alternative to Adobe Photoshop, which tends to be expensive by providing a variety of high-end functions such as layering, brush customization, and a large selection of plug-ins.
Its interface can be modified to conform to particular workflows, so it appeals to both professionals and amateurs.
GIMP is cross-platform and runs in Linux, Windows and macOS, therefore it is quite a good option for people looking for an all-in-one image edit suit without paying anything.
How to Delete Filter Layer In Gimp?
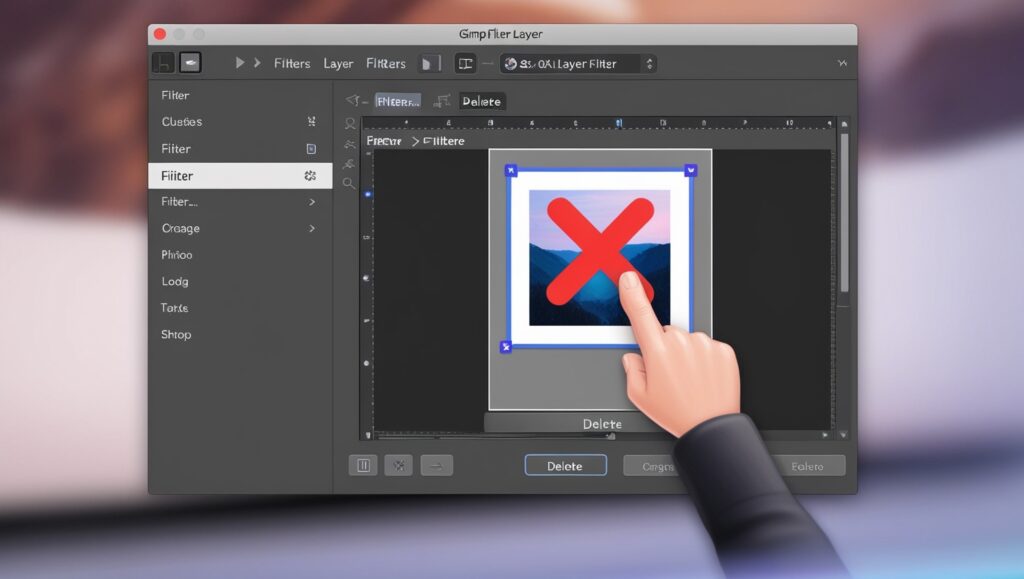
To delete a filter layer in GIMP, take the following precautions:
Open Your Project: open GIMP and load the image or project which has the filter layer you wish to remove.
Locate the Layers Panel: Check if the Layers panel is active. If it’s not showing, go to Windows > Dockable Dialogs > Layers to display it.
Find the Filter Layer: Search the filter layer in the layers panel. The names of filter layers usually include the name of the filter applied to them (for example, “Blur”, “Sharpen”, etc).
Select the Layer: Press the filter layer with the mouse to pick it.
Delete the Layer:
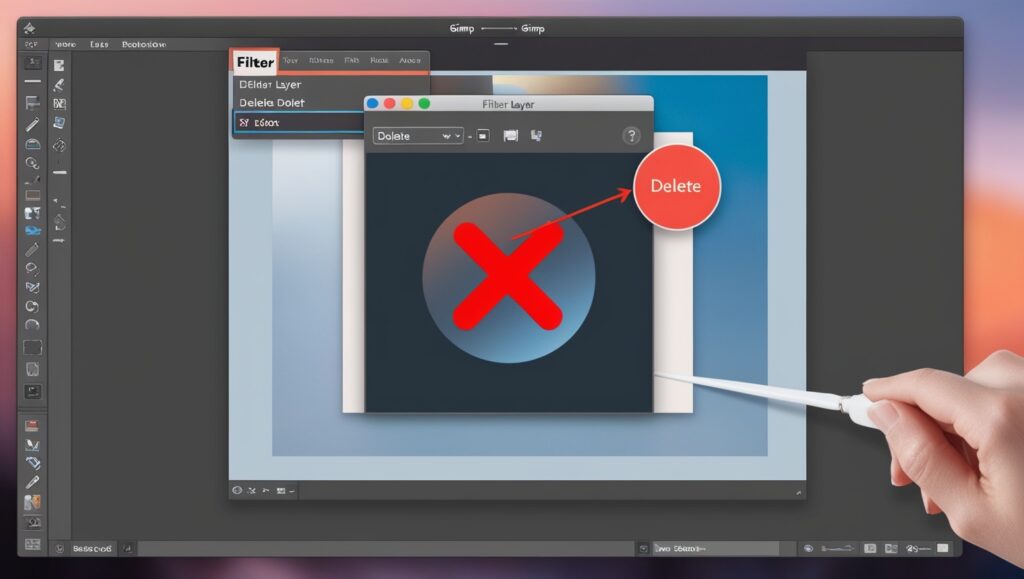
Right-click on the layer you selected, and in the context menu which appears, opt for the option “Delete Layer”.
Press “delete” on your keyboard in cases where the layer is selected.
Confirm Deletion: Another important point to note is that, make sure the layer is emptied and not left in the project as it is, In that case, the image should now be changed to the original with no filters.
This method works for any layer in GIMP, not just for the filter layer. Only if you make any mistakes be sure that the layer is not locked or it is not a member of a layer that has been created to prevent its deletion.
Common Issues and Troubleshooting
Below we’ve compiled most of the gimp problems and their solutions for the users.
GIMP Crashes or Freezes: There might be a few plugins or scripts that could be causing the pain.
Tool Options Not Working: Time to reset the options to their defaults.
Layers Not Showing: Click on the Layers tab in Windows >> Dockable Dialogues if you can’t see it.
Eraser Tool Problems: Make sure that the layer you are currently working on is the active one,
GEGL Errors: Make sure to download GEGL properly.
Image Modes Constraints: When working under indexed mode, the various operations that you can do will be restricted.
Selection-related problems: Without active selections, ensure the current selection is cleared out.
Unable to save the file due to permission issues: Ensure you have the desired directory access permissions.
Working with Peeling Plugins: Recently added plugins should be disabled for conflict-free usage.
Too Sluggish GIMP Performance: Close unnecessary background applications and activate memory allocation limits for gimp.
Do you understand everything, or are there more specific issues that you’re having?
Best Practices for Managing Layers in GIMP
Knowing layering techniques in GIMP is one way of making your image editing efforts easier and simple. Here are a few tips worth noting:
Name Your Layers: Describe what each layer does or what it contains by naming it and grouping together related layers.
Erase Smartly: It is prudent to avoid erasing segments of a layer. Instead, masks are used to edit enclosed areas in a non-destructive manner.
Try Different Layer Modes: Different types of blending happen when different layer modes are applied, so try other layer modes such as Multiplicative, Screen, and Overlay.
Do Not Merge the Layers Too Early: Unless sections are ready to be merged, they should be kept separate so as to avoid collapsing layers too soon.
Modify Layer Opacity and Fill Effects: Opacity and fill can also be altered to create finer details in effects or to get particular levels of transparency.
Apply Color To Adjustment Layers Determine what amount of color alters you want and apply that to the adjustment layer for easy correction later.
Save Duplicates of Layers: Duplicate a layer before making heavy edits so that changes can be reversed back to the beginning if things do not go as planned.
Use Guidelines & Grids for Precise Alignment Make sure your guiding lines and grids are in synchronize mode for the correct alignment of layers.
Lock Layers When Needed: A necessity for layers is to lock them anytime they do not need to be modified or moved by mistake.
Do Not Forget to Save Your Work: Every now and then, save your project, and when doing so, save it in . XCF format, which is GIMP’s native file, to allow for surprises in the future.
As long as you observe the best practices mentioned above, you will be able to work faster and more efficiently in GIMP. Are there particular concerns that you wish to address regarding the layers in GIMP?
Conclusion
To summarize and conclude, removing a filter layer in GIMP is very easy and beneficial to the overall experience of altering images.
You can efficiently control and edit your project by telling it that you want to delete the layer of filters selected under the Layers section opened.
Regardless of the nature of the task one handles, deleting unwanted or unneeded layers enhances the proper management of the editing space.
Having described the steps involved, I do expect that you will be able to work more effectively and achieve your creative aims in GIMP.

